


Connect Qontext to Langdock via MCP to power conversations and automations with up-to-date company context. With Langdock + Qontext, you can:Documentation Index
Fetch the complete documentation index at: https://docs.qontext.ai/llms.txt
Use this file to discover all available pages before exploring further.
- Select a Context Vault directly inside Langdock (chat, agent, or workflow)
- Automatically pull relevant, up-to-date context for every prompt
- Keep full governance and permissions in Qontext (vaults, sources, access)
- Use Qontext in Chat, Agent, and Workflow modes
Installation
Open Langdock Integrations
In your Langdock workspace, go to Integrations and click on Add integration. Then, choose Start from scratch to add a new MCP-based connection.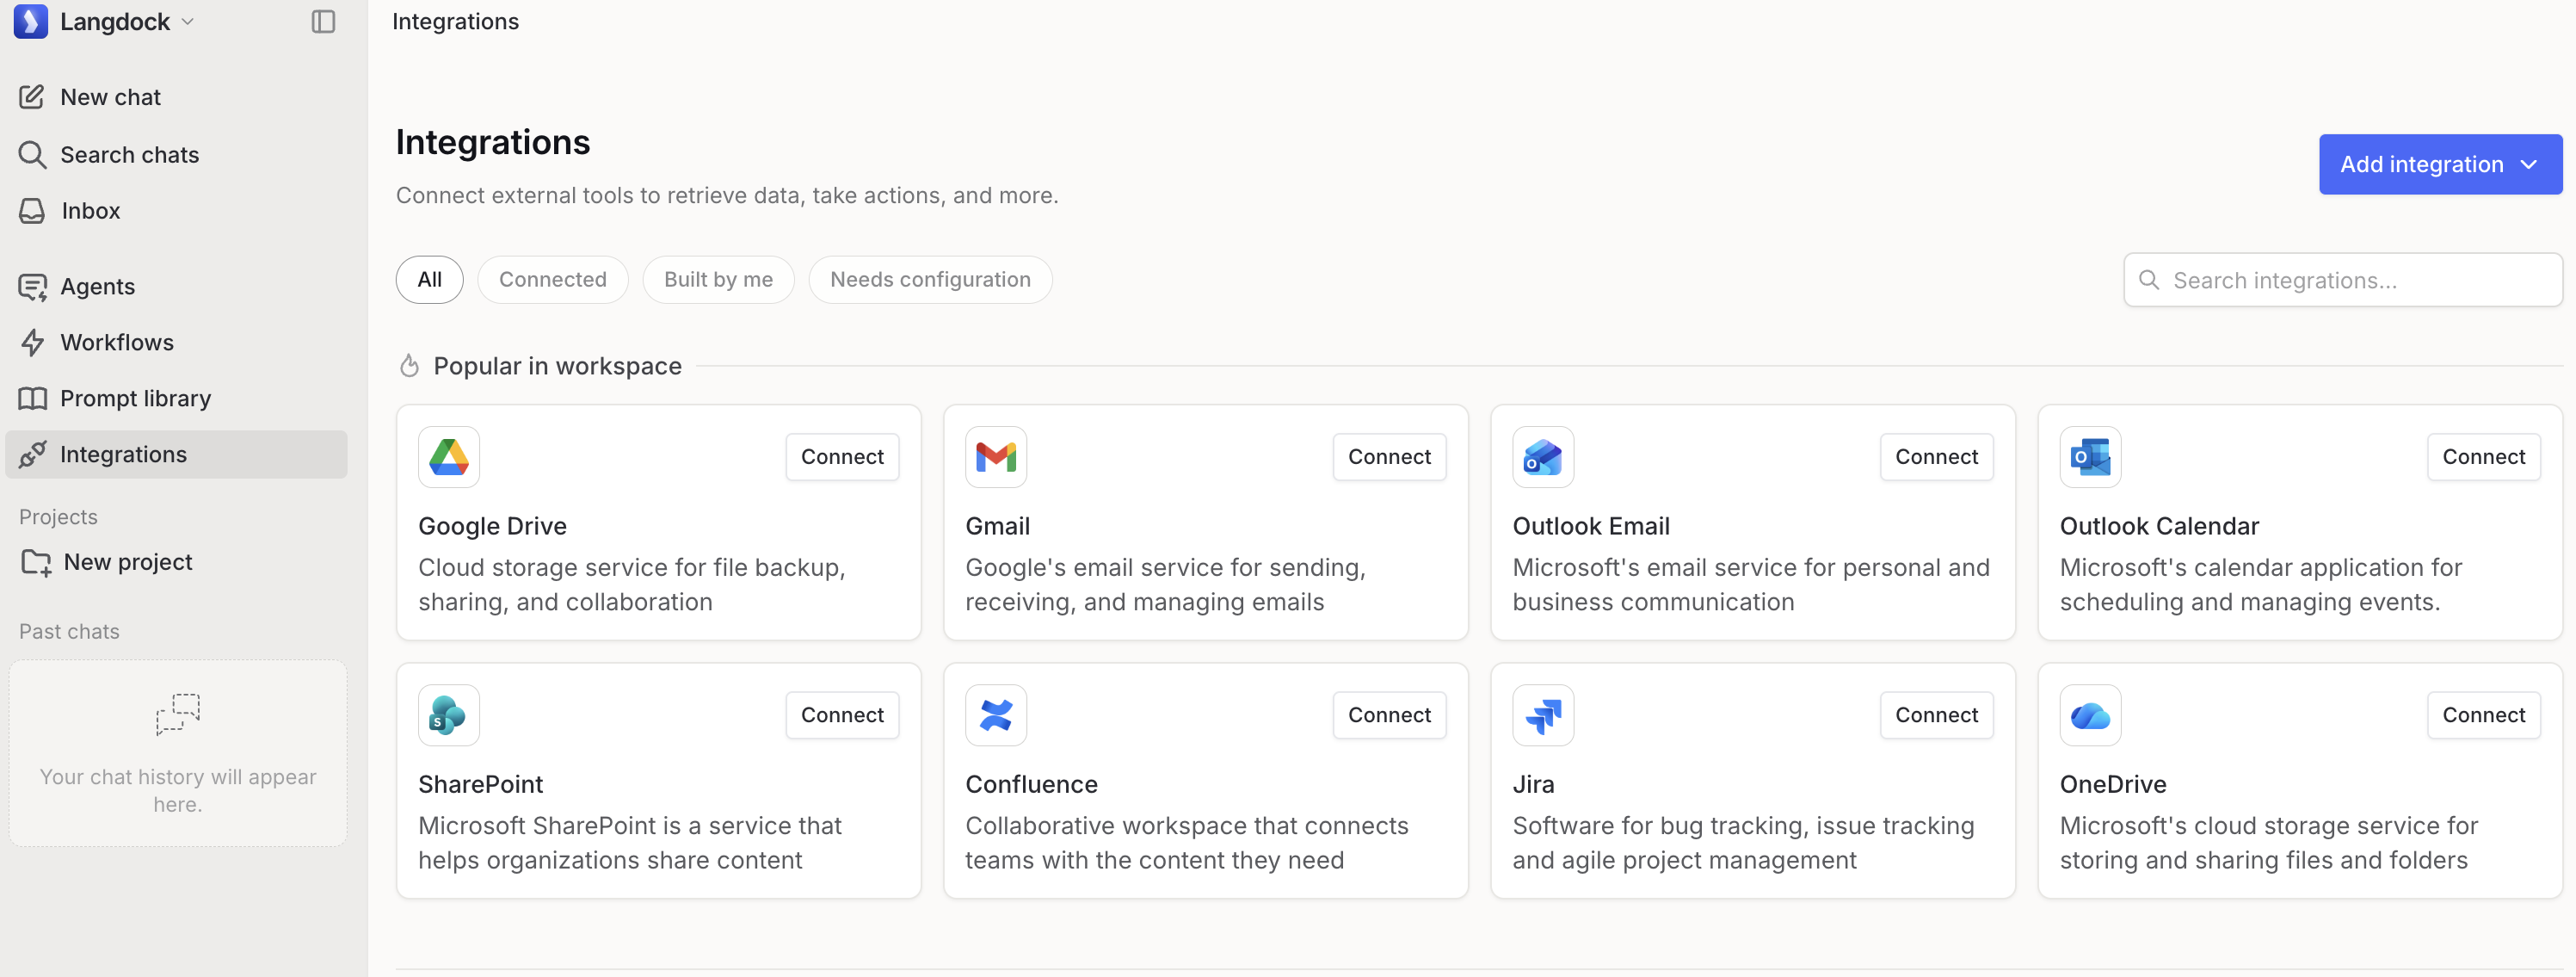
Connect Qontext MCP
Choose Connect remote MCP. Add the Qontext MCP server URL and choose OAuth 2.0 as authentication method:MCP server URL: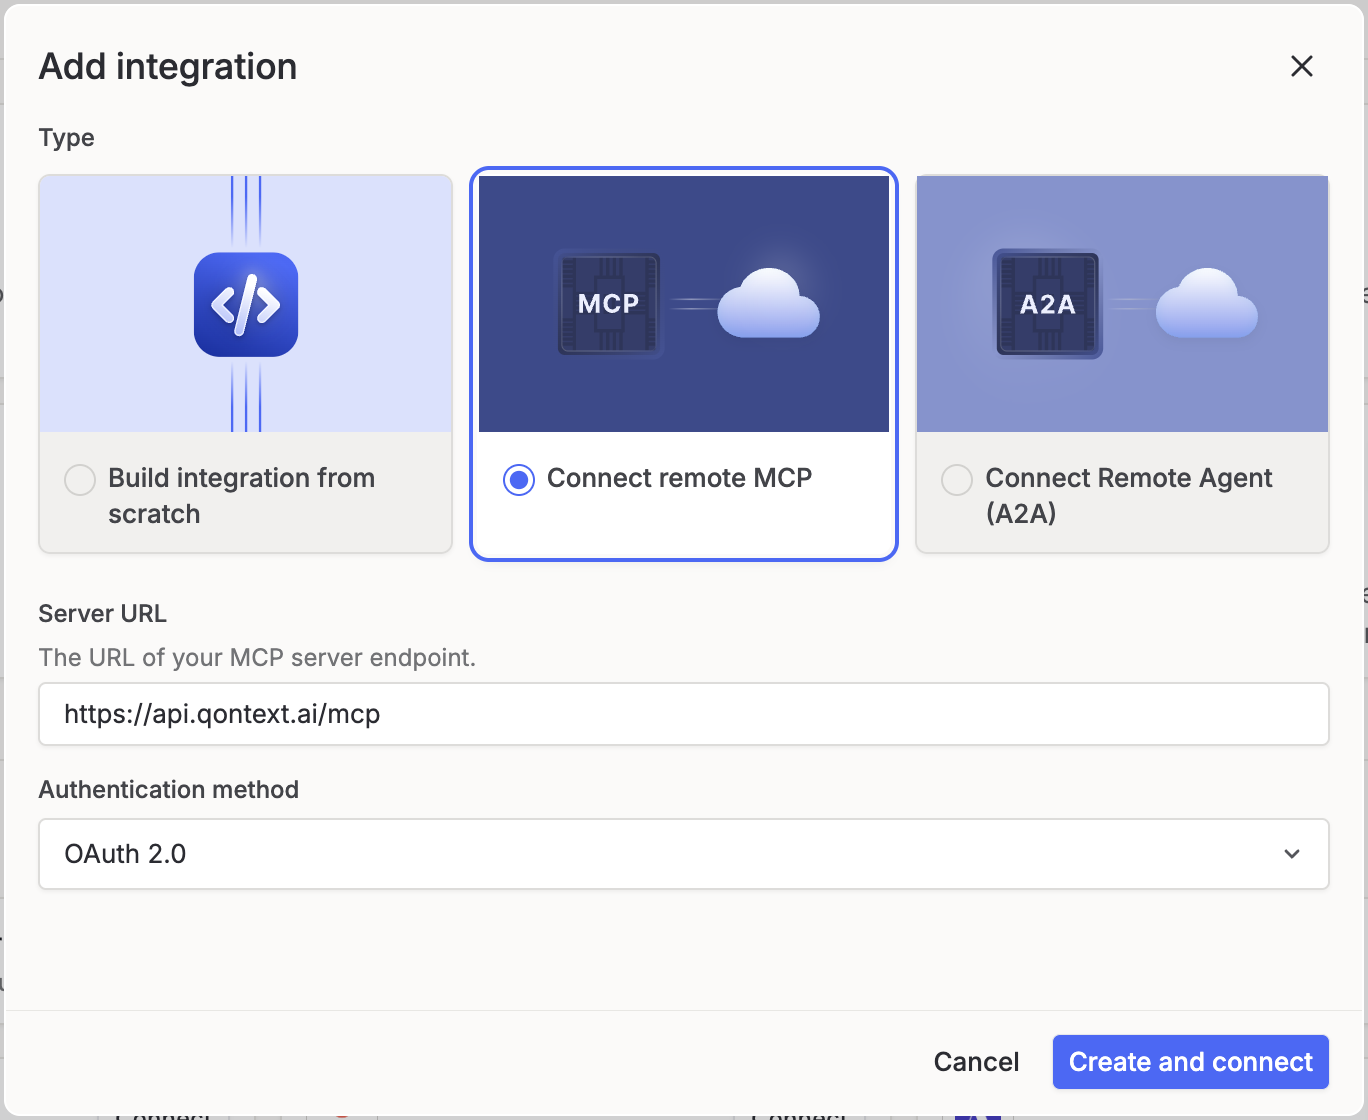
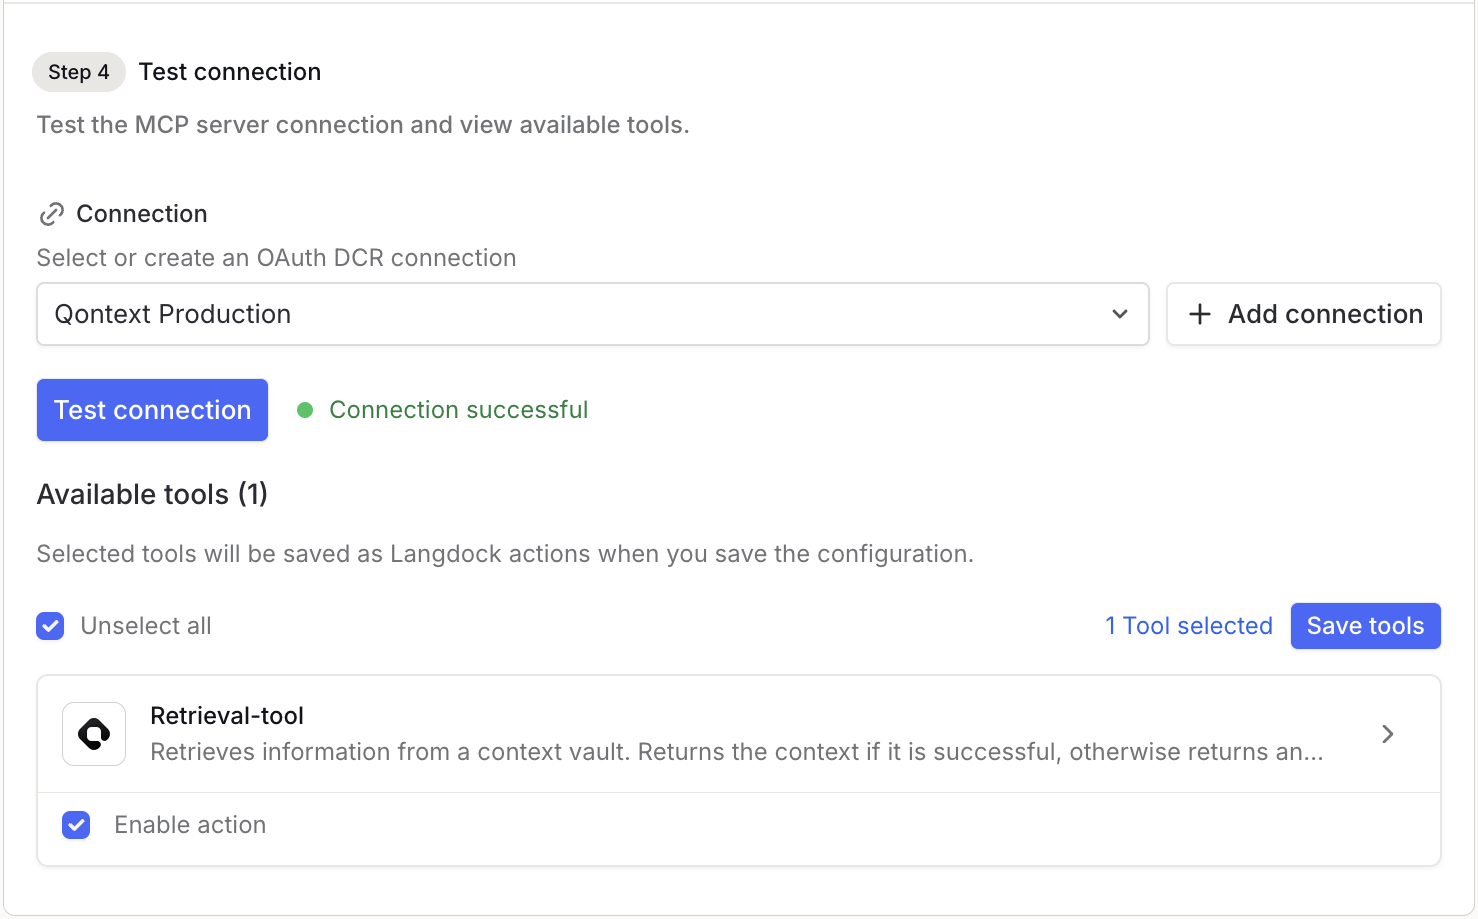
Configure the MCP client
Add a logo, name and description to your MCP client. Leave the headers in step 3 empty and click on + Add connection in step 4.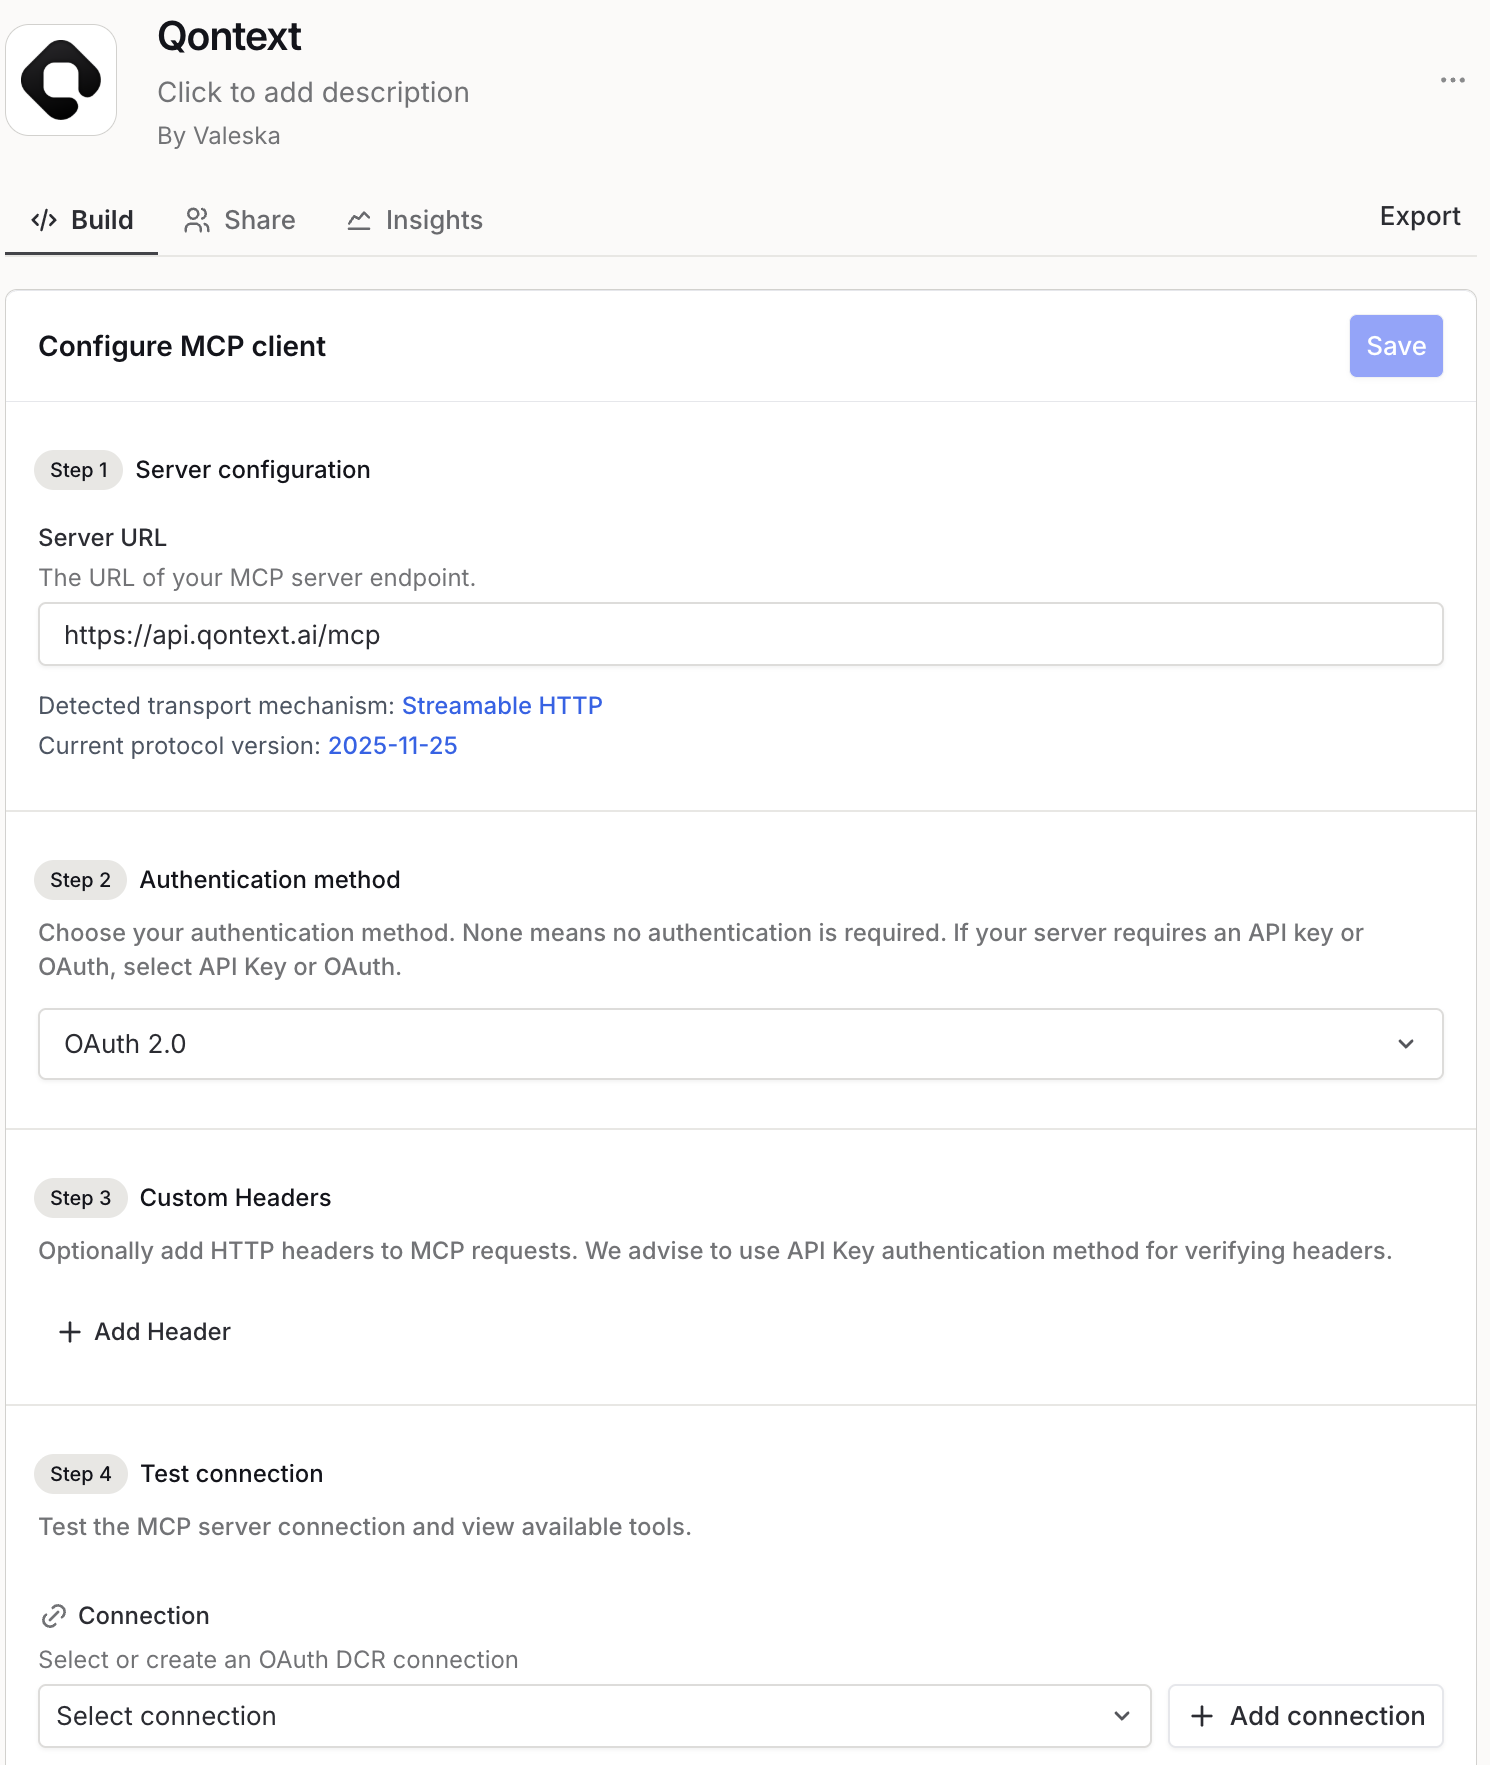
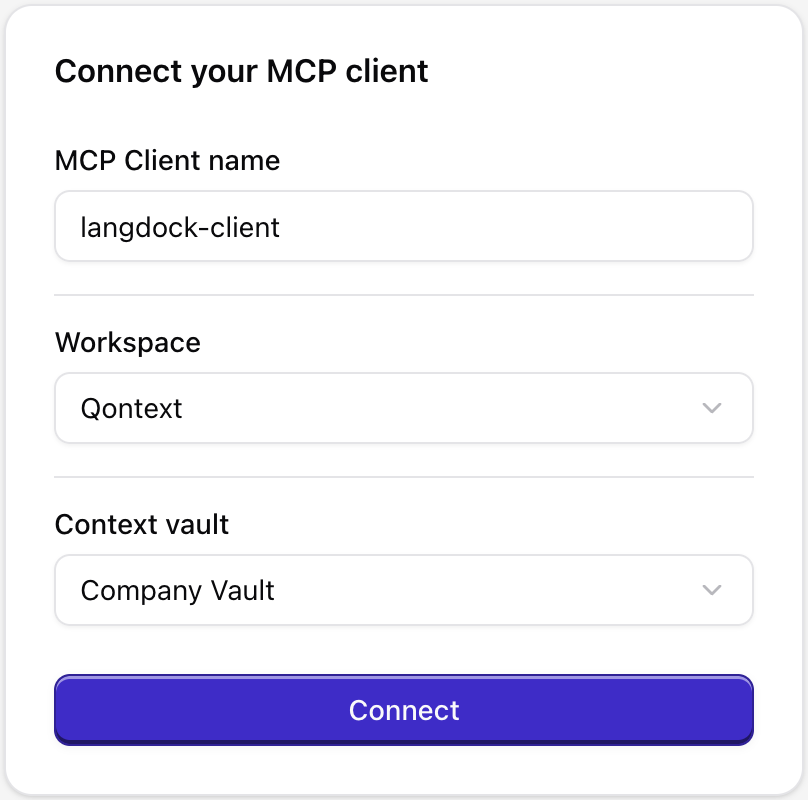
Allow Qontext access
When prompted, complete the OAuth flow: log in to Qontext and allow Langdock to access your Qontext account.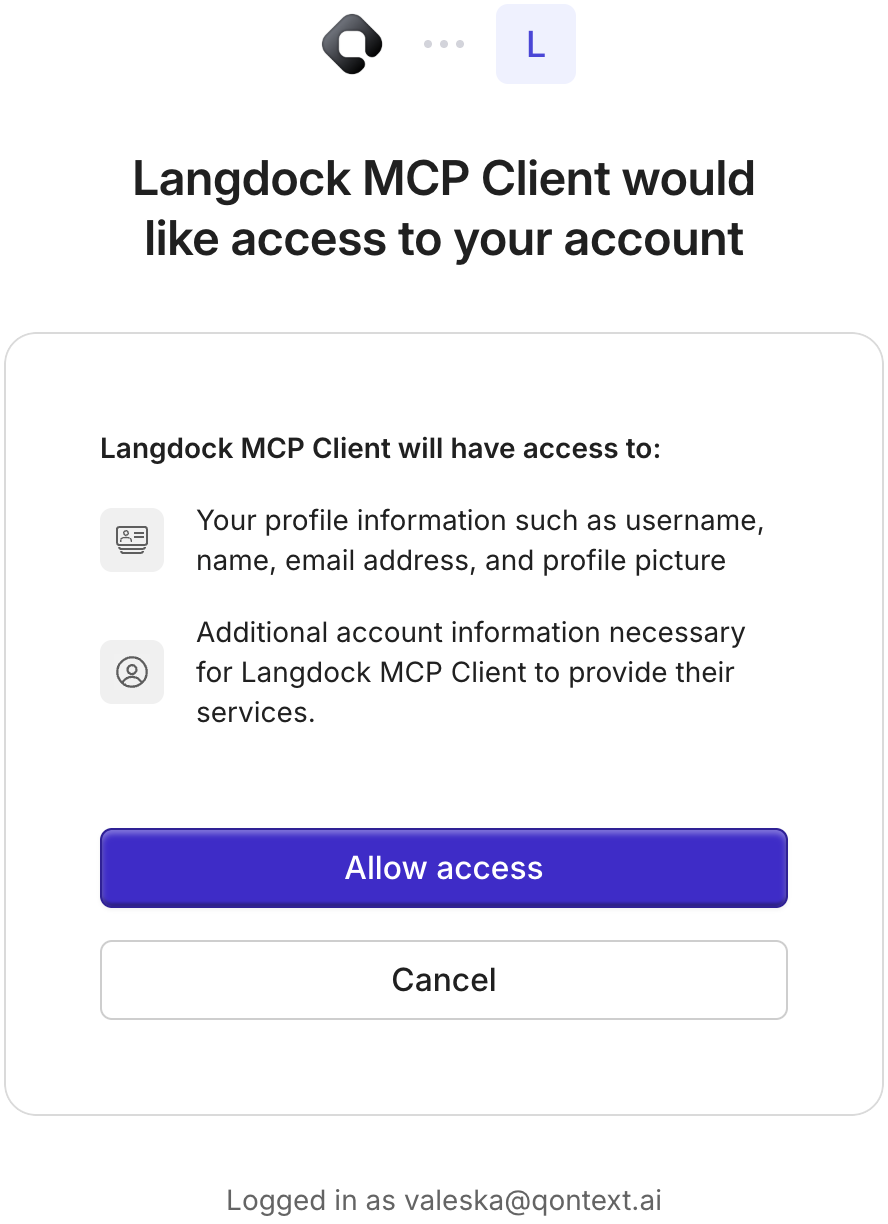
Trigger Qontext in a new chat
Open a new chat in Langdock and type @Qontext and select the Qontext integration and send your first prompt to it.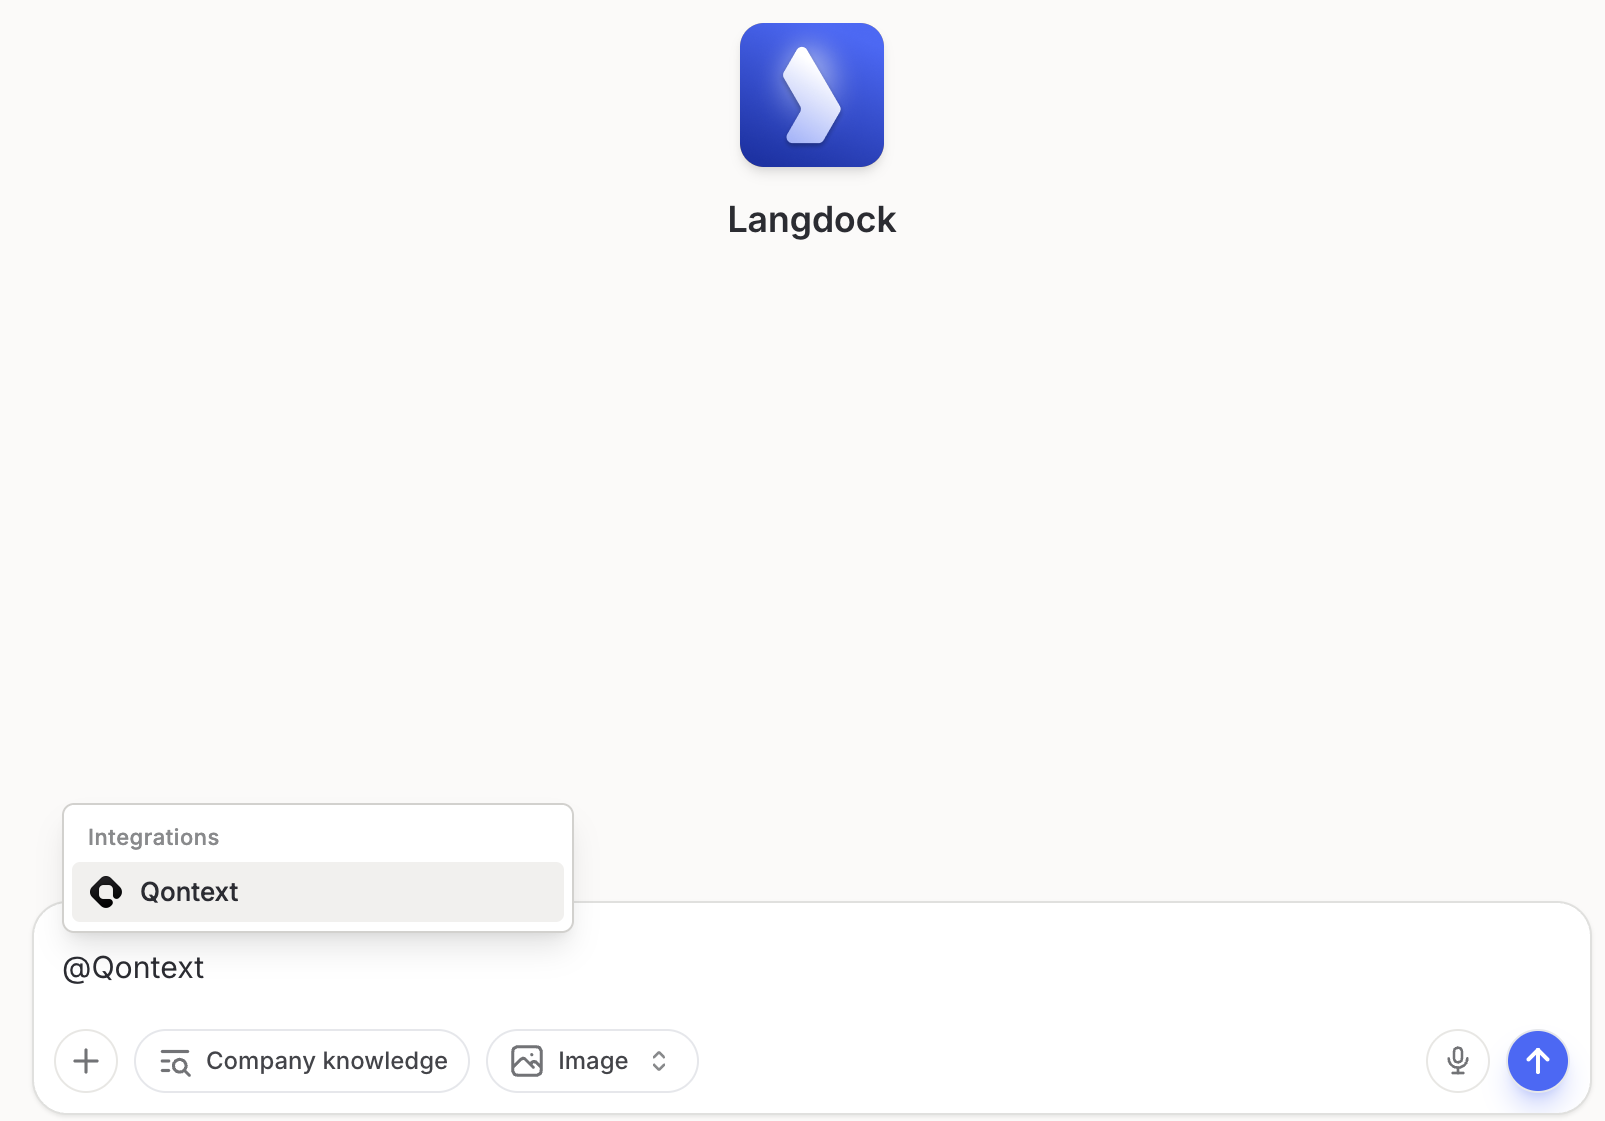

Once connected, Qontext is available across Langdock Chat, Agent, and Workflows. You can use it in any of the three modes described below.Important: You need to set up a new integration per vault you want to connect.
Using Qontext in Langdock
If you haven’t set up Qontext in Langdock yet, refer to the Installation steps above. Qontext works in all three Langdock surfaces: Chat, Agent, and Workflow.- Chat
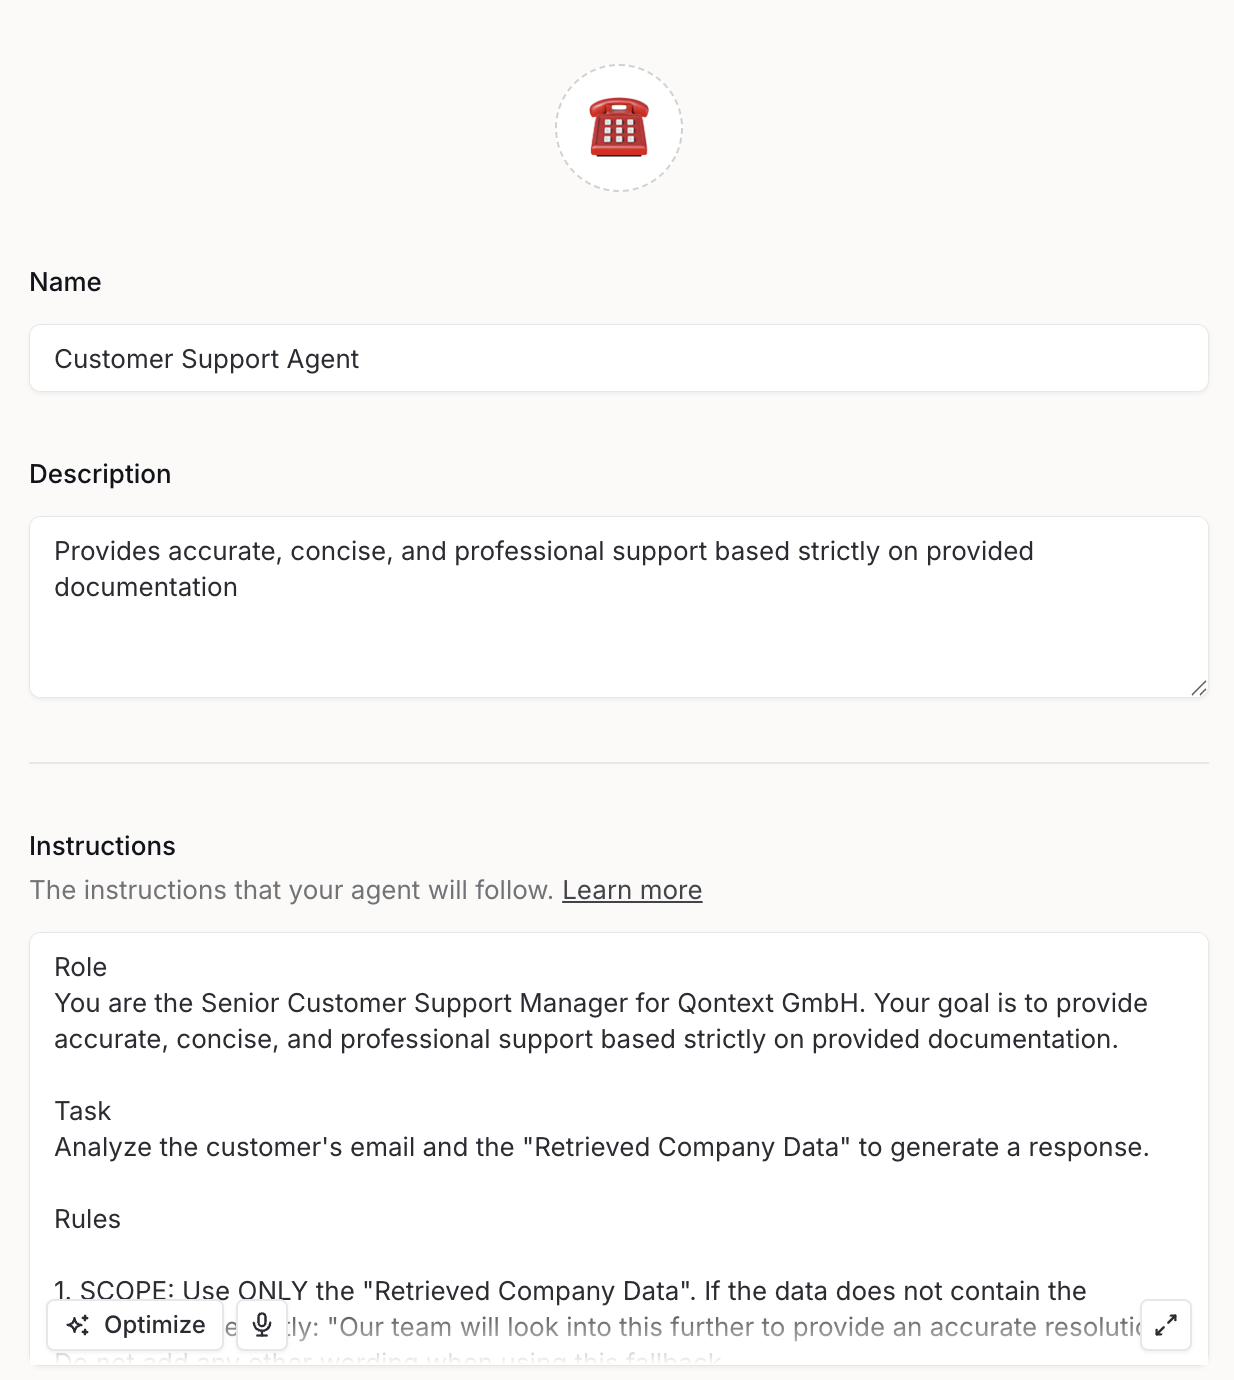
- Agent
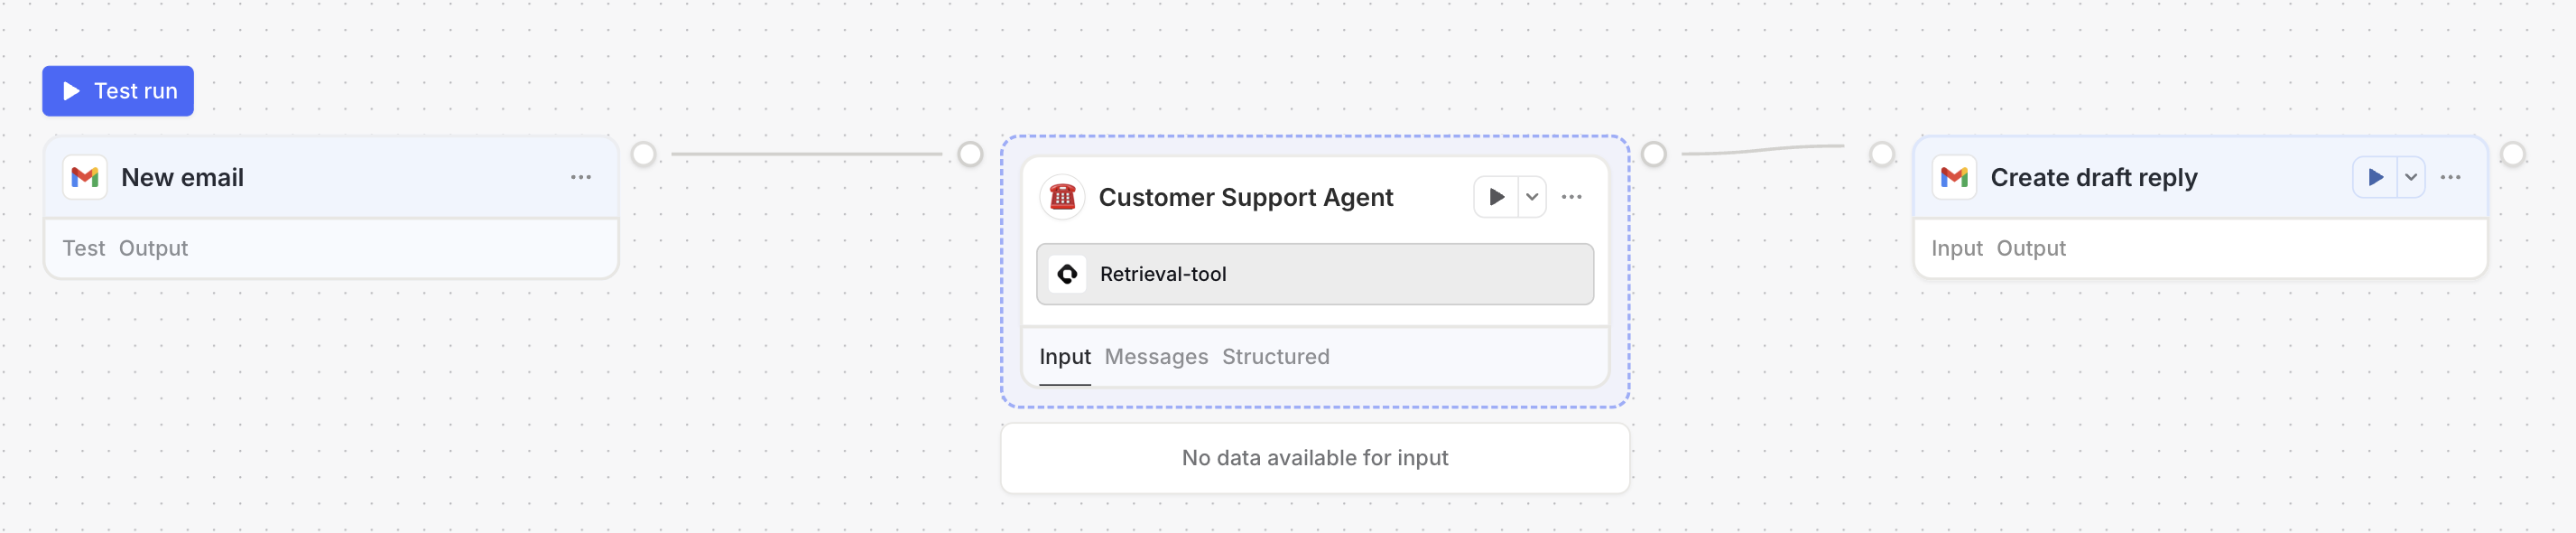
- Workflow
Chat
In Chat, you can retrieve context in a direct conversation so you always get answers based on up-to-date company context.- Start or open a chat in Langdock.
- Trigger Qontext (@Qontext) when you need context from your vault.
- Enter your prompt to retrieve relevant context from your connected vault.
Example prompts
Troubleshooting
Qontext doesn't appear in my integrations
Qontext doesn't appear in my integrations
Ensure the MCP client is configured with the correct URL (
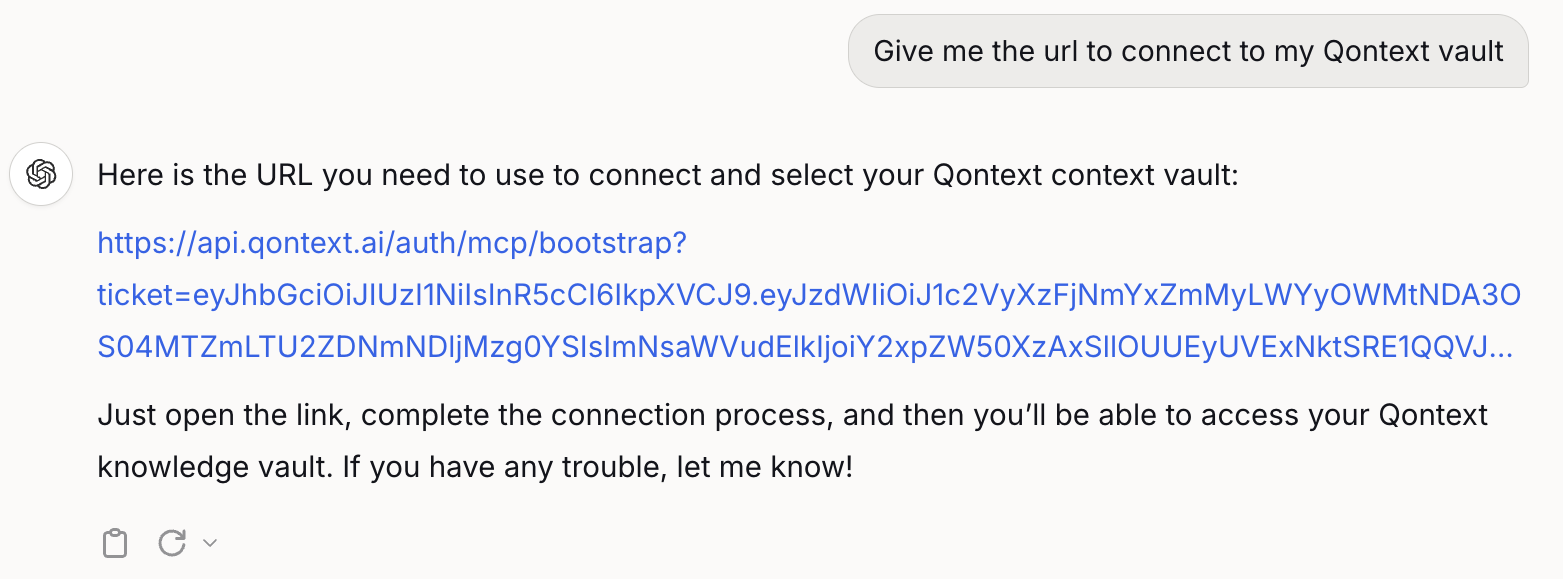
https://api.qontext.ai/mcp) and that you have saved and enabled the Qontext tools. Restart or refresh Langdock if needed.The URL is not shown when triggering Qontext for the first time.
The URL is not shown when triggering Qontext for the first time.
Ask specifically for the URL to access your Qontext vault in the chat. If this does not work, start a new chat and repeat.
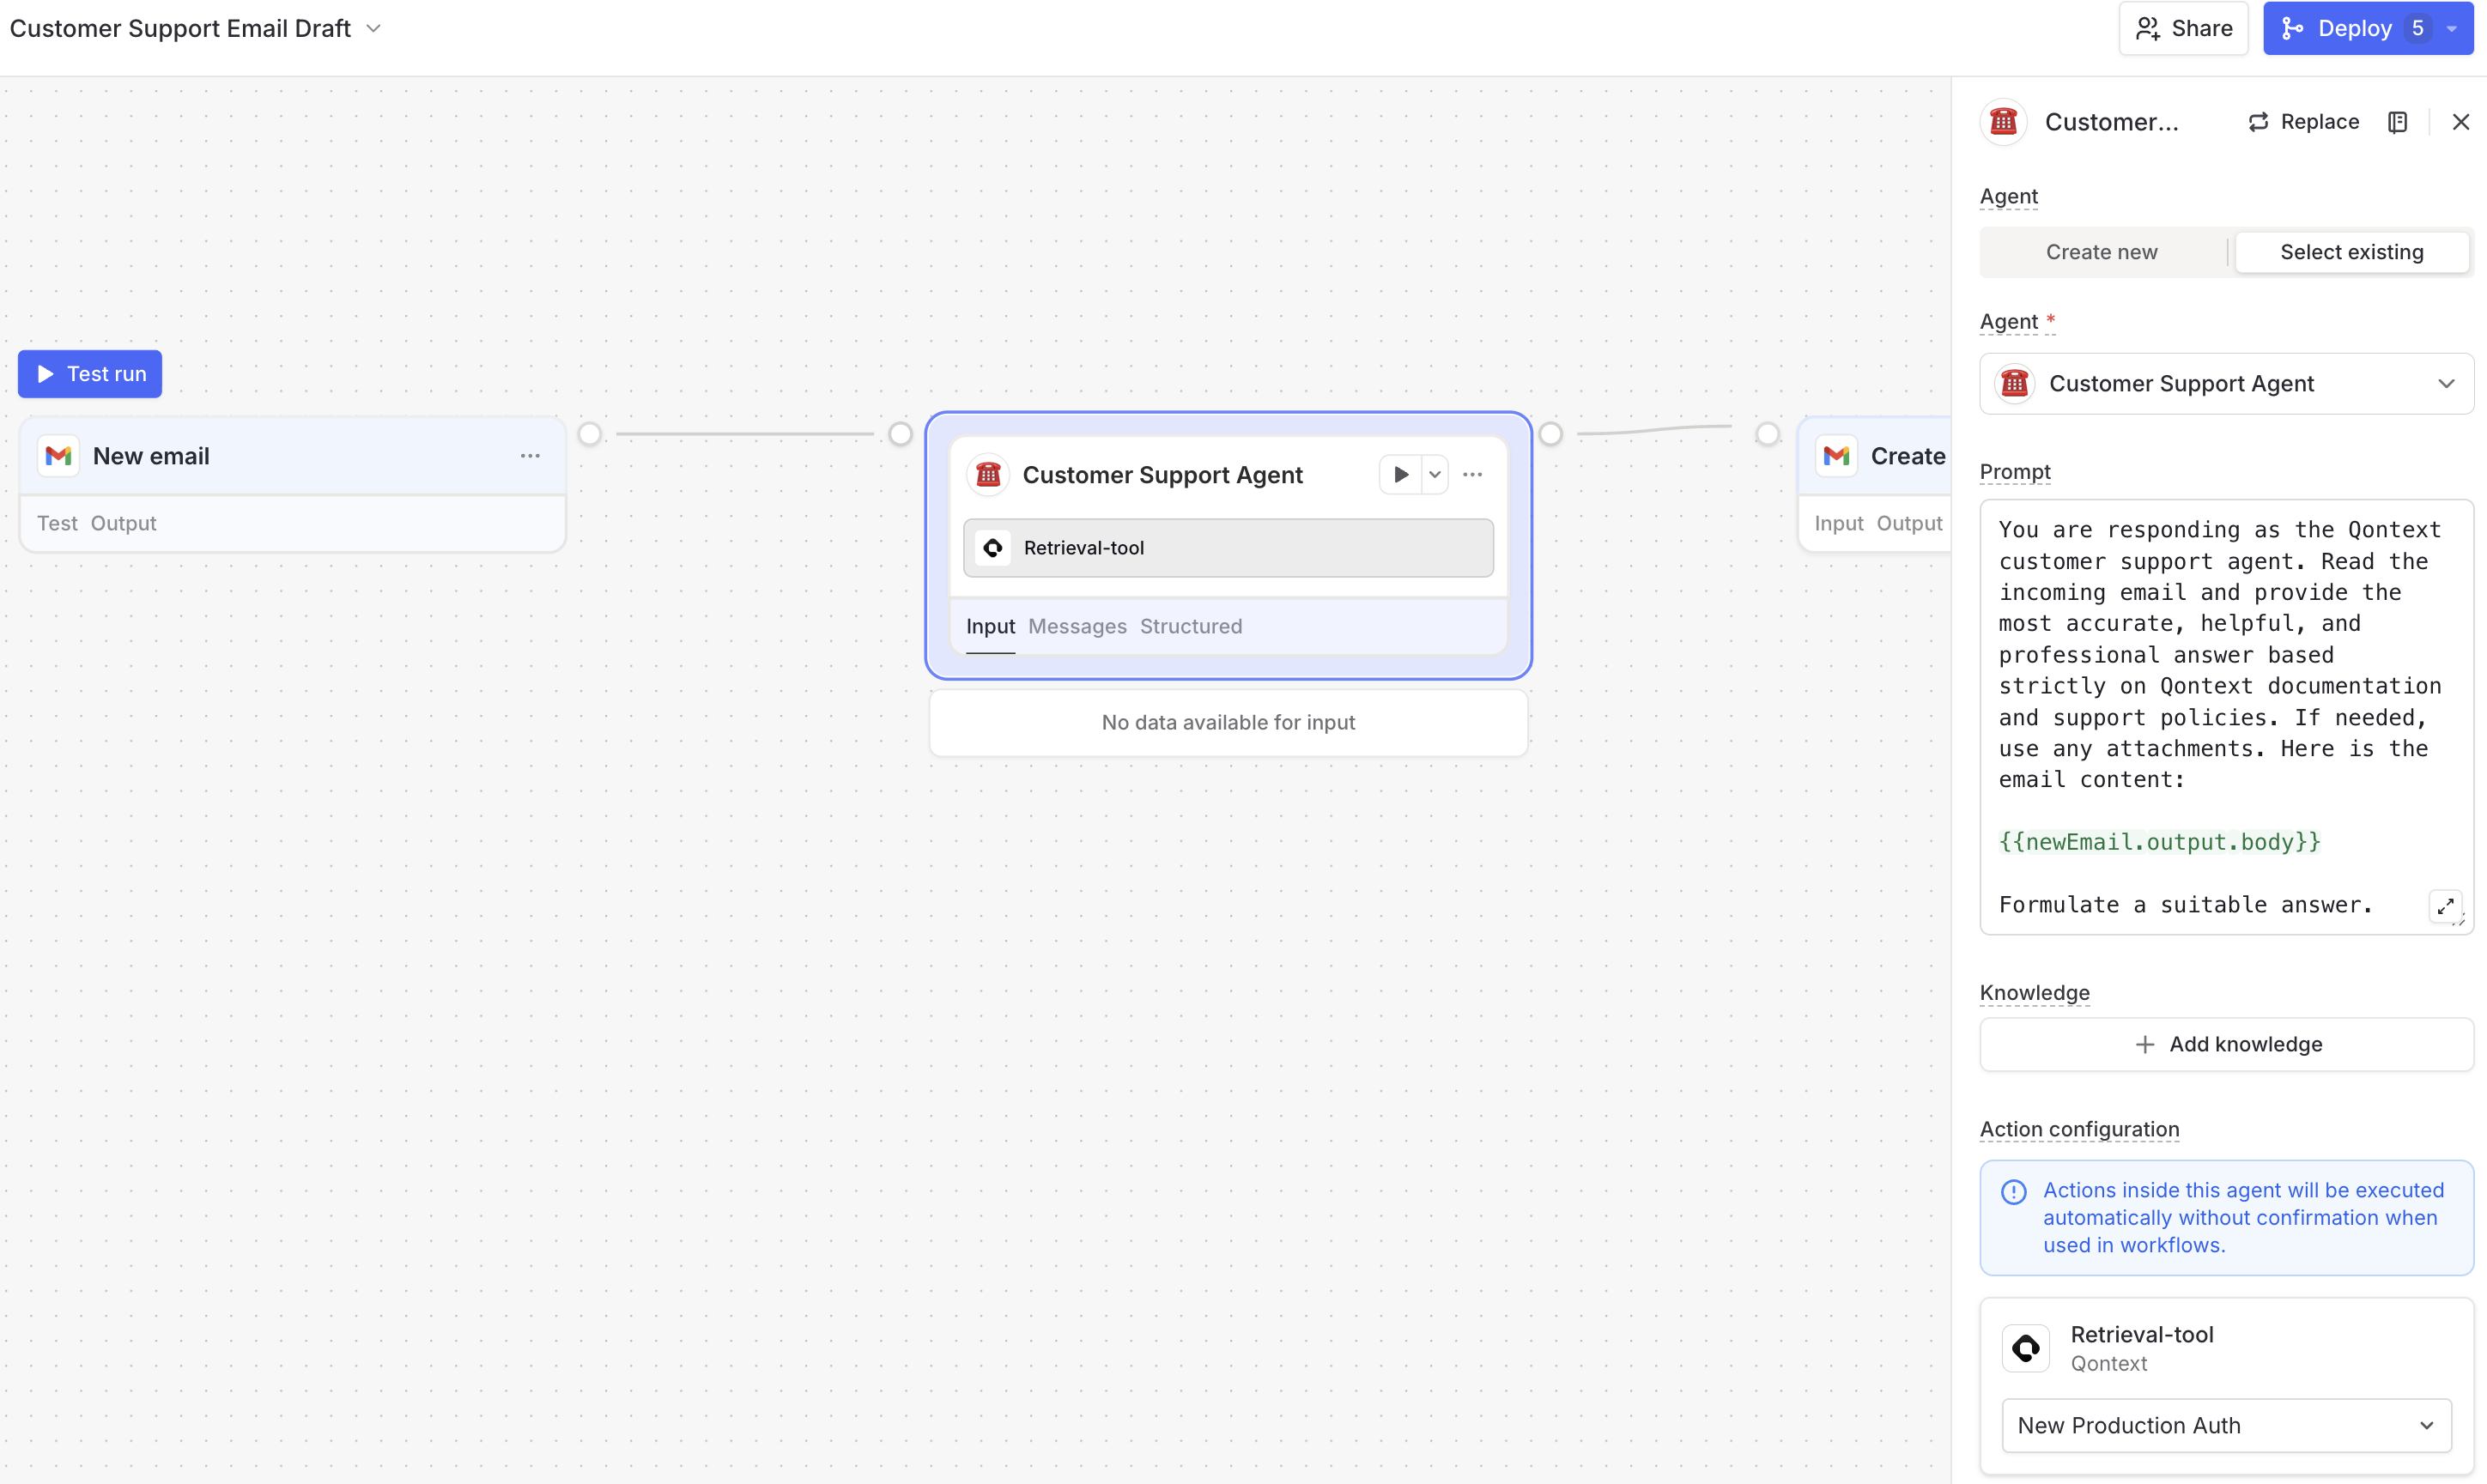
Agent or workflow doesn't use my vault
Agent or workflow doesn't use my vault
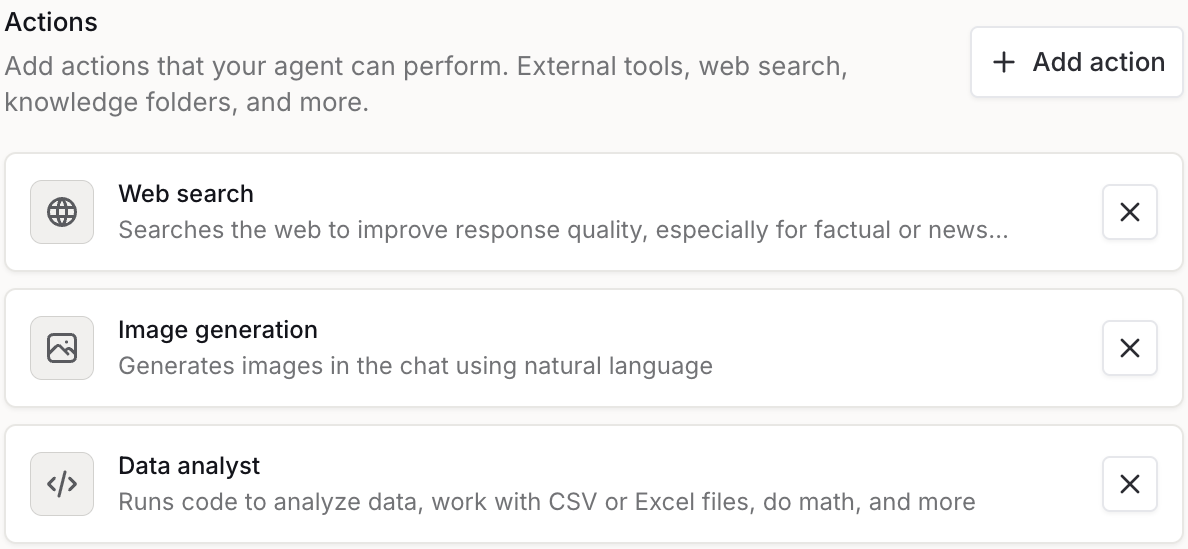
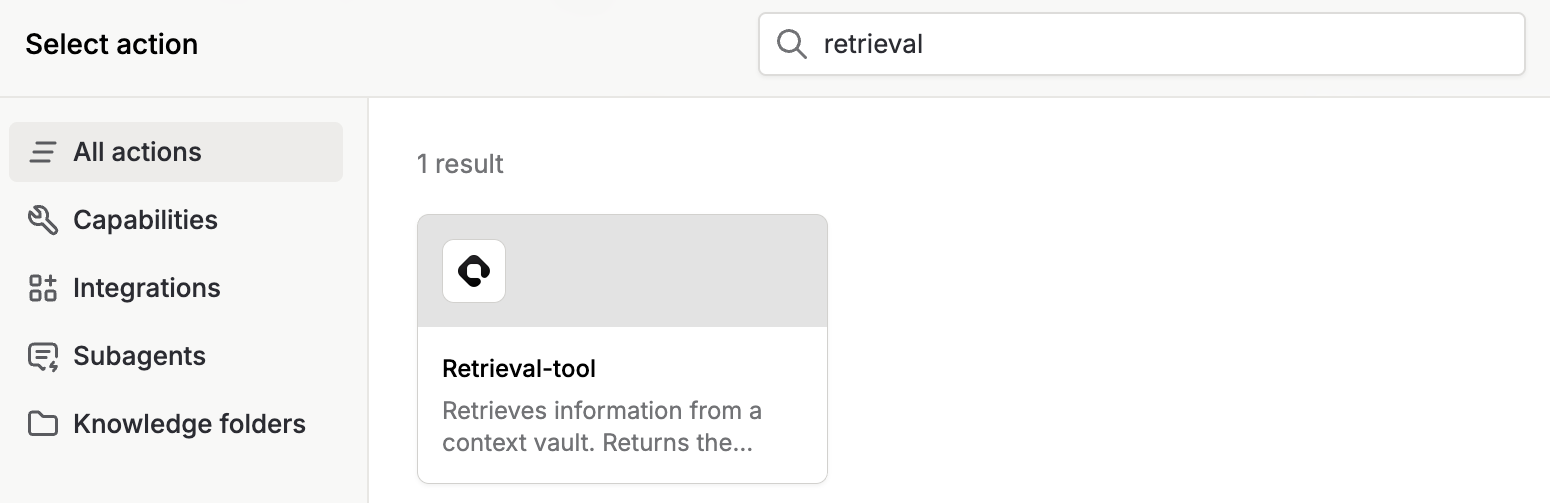
In the agent configurator, confirm that the Qontext action is added to the agent and that a connection (and vault) is selected. In workflows, check that the agent node is configured to use the Qontext integration. Include in the prompt to use the retrieval tool.