


Connect Qontext to ChatGPT via MCP to power every chat with up-to-date company context. With ChatGPT + Qontext, you can:Documentation Index
Fetch the complete documentation index at: https://docs.qontext.ai/llms.txt
Use this file to discover all available pages before exploring further.
- Select a Context Vault directly inside ChatGPT
- Automatically pull relevant, up-to-date context for every prompt
- Keep full governance and permissions in Qontext (vaults, sources, access)
Installation
Open ChatGPT Settings in your web browser
Open ChatGPT in your browser and log in. In the bottom left corner, click your profile and open Settings.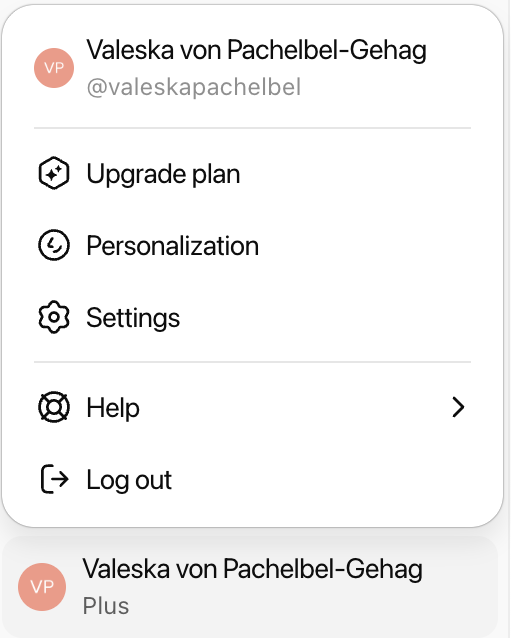
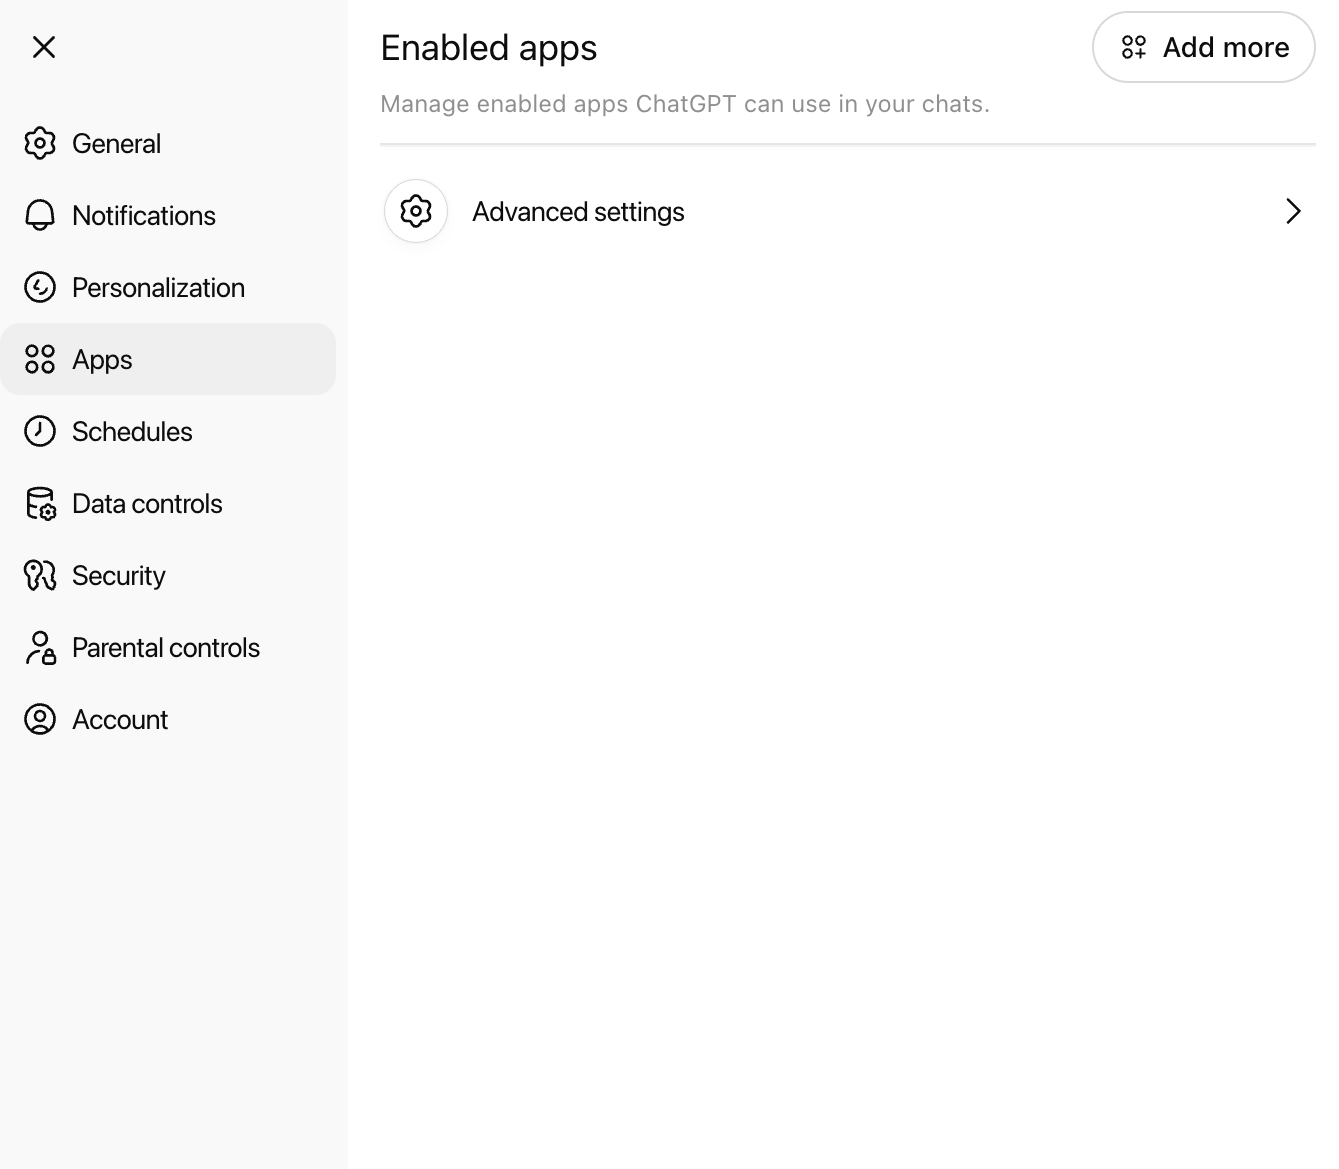
Enable Developer Mode
Enable Developer Mode and then click on Create App at the top to start the Qontext connection flow.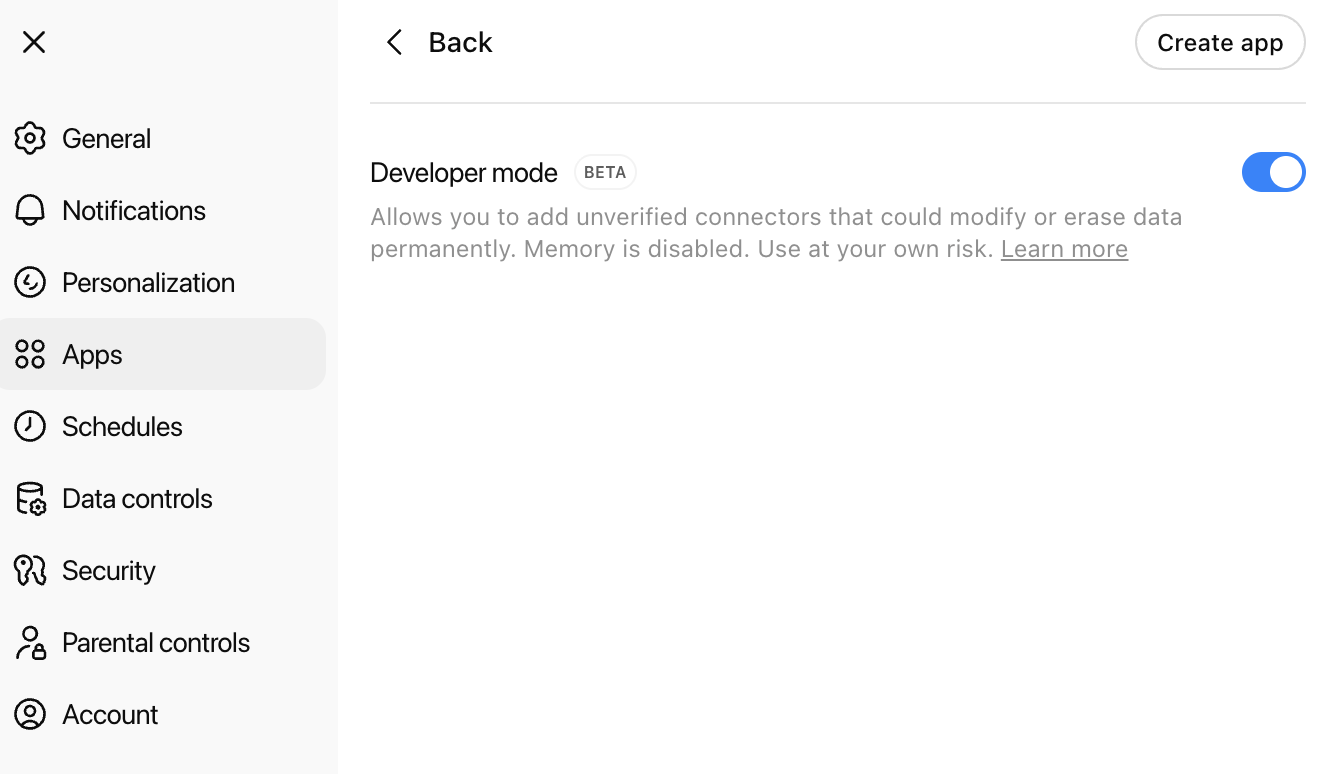
Create a new app
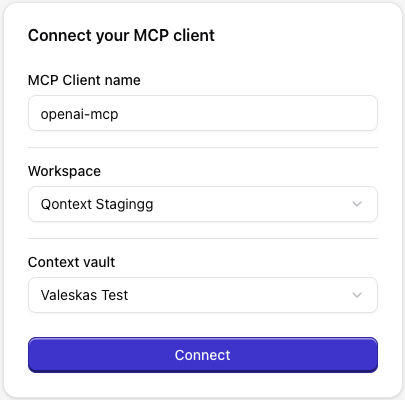
Fill in the details for your new app. You can see an example below. Use the correct MCP server URL and leave the OAuth fields empty, then create the app.MCP server URL: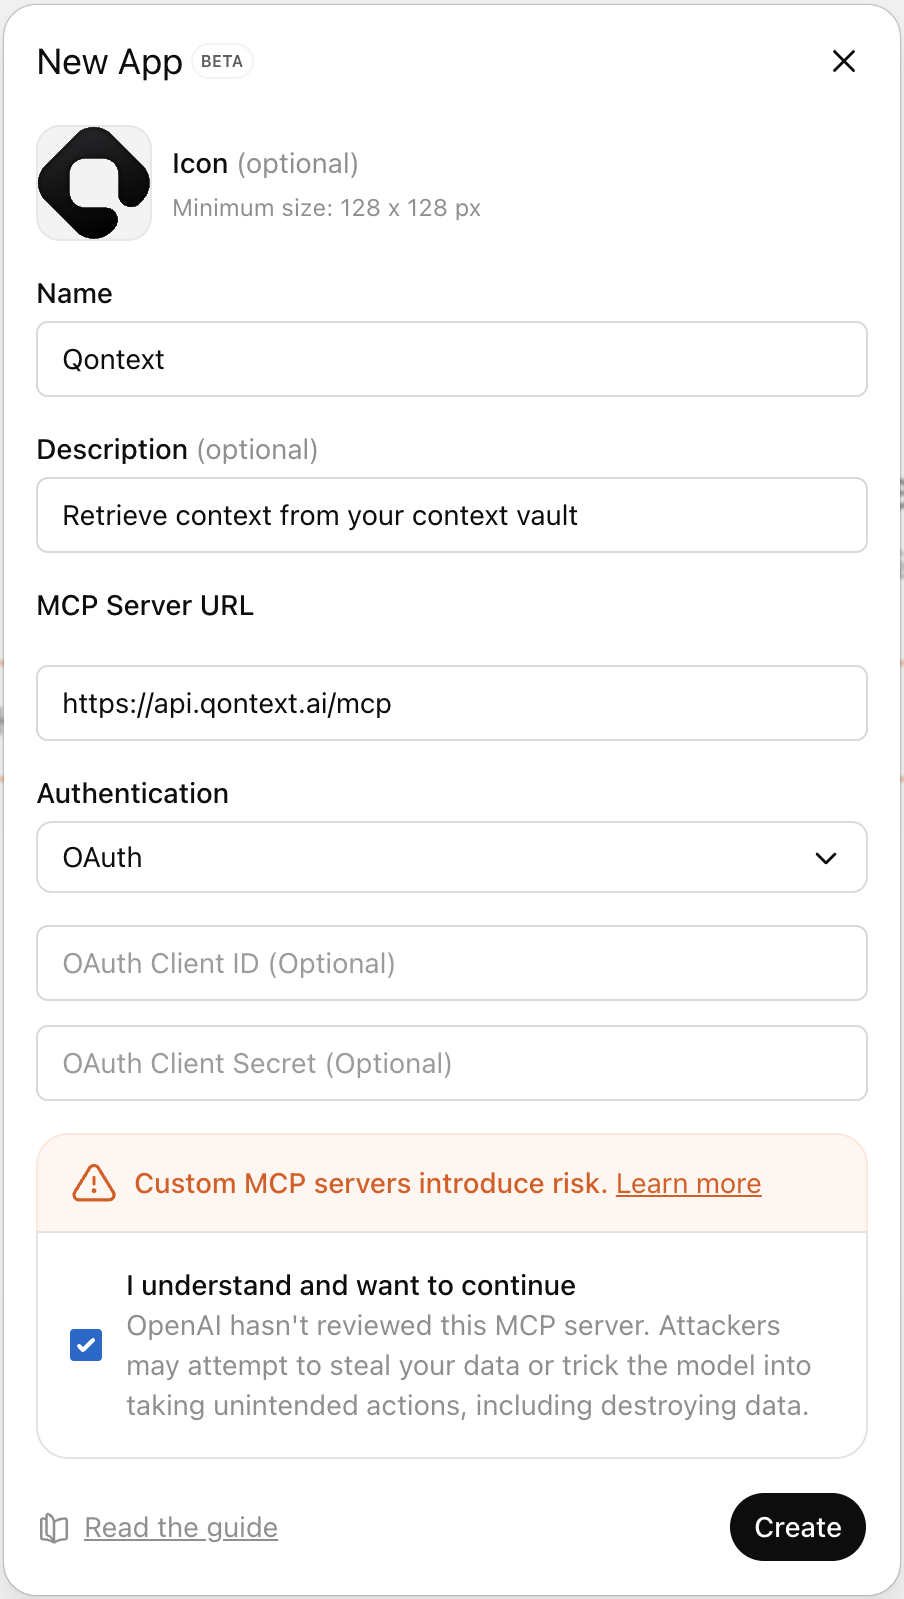
Log in to Qontext
Sign in to your Qontext account.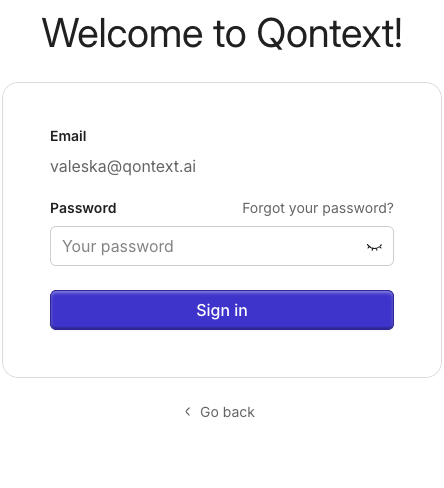
Get the vault selection link
In a new chat, type @Qontext in your message. ChatGPT will show a link for you to select which context vault to use.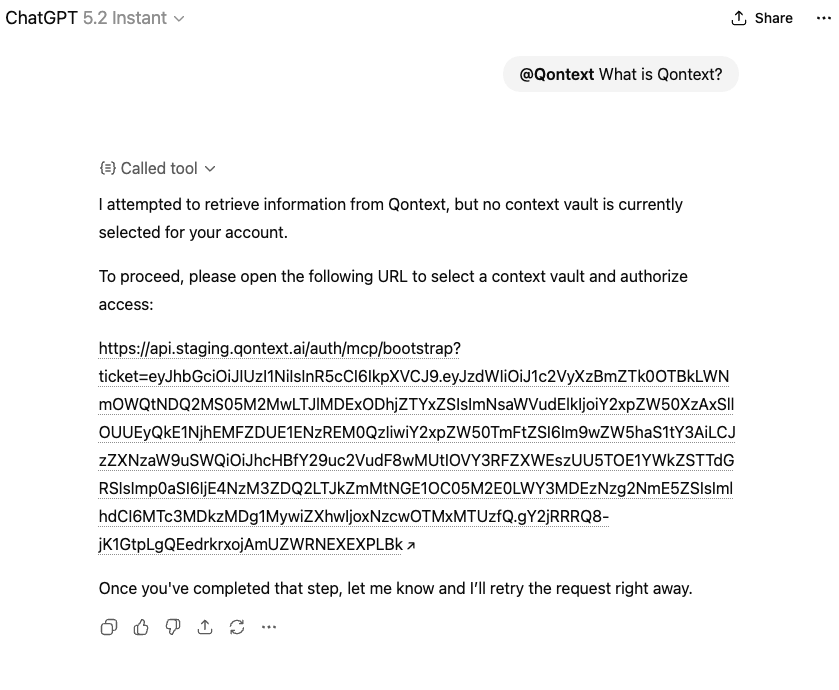
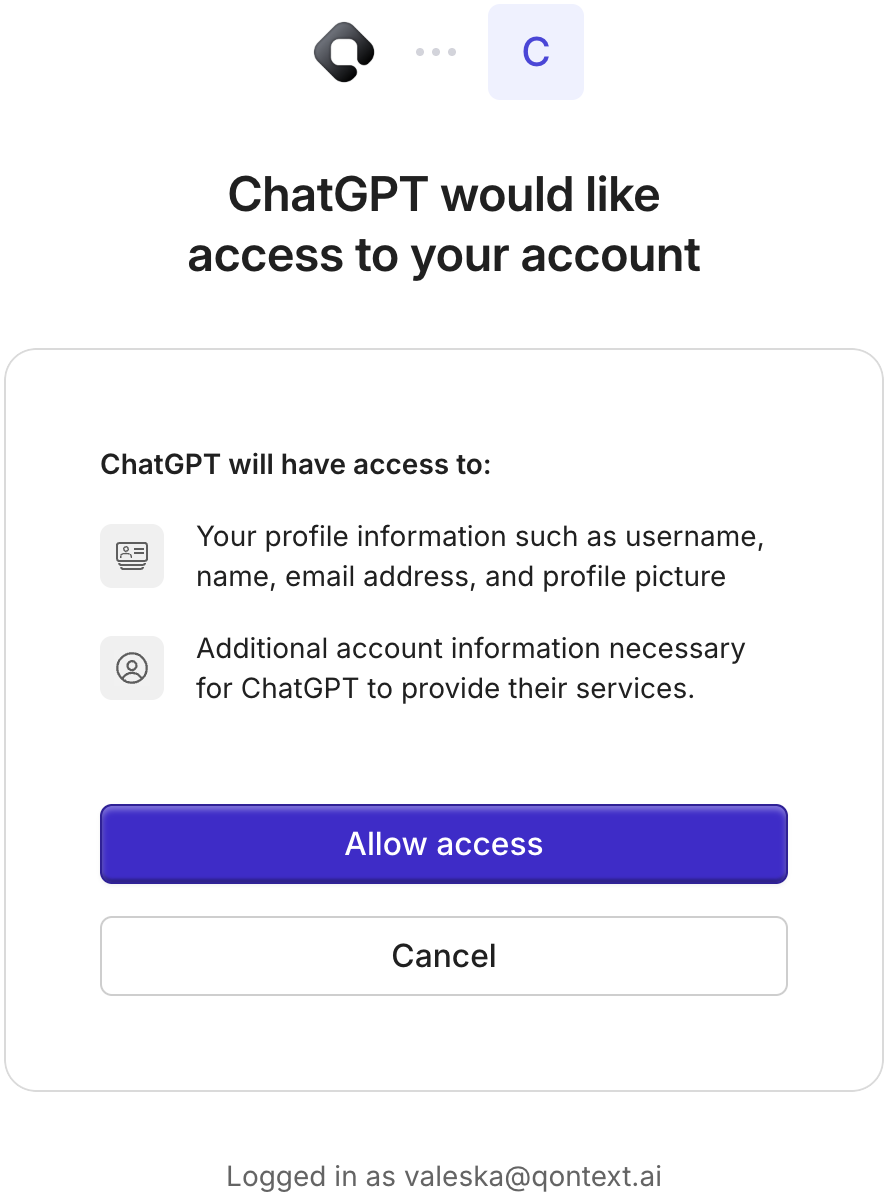
From now on, ChatGPT will use your selected vault to retrieve context when you invoke Qontext.
Using Qontext in ChatGPT
Once the app is set up, using Qontext is simple: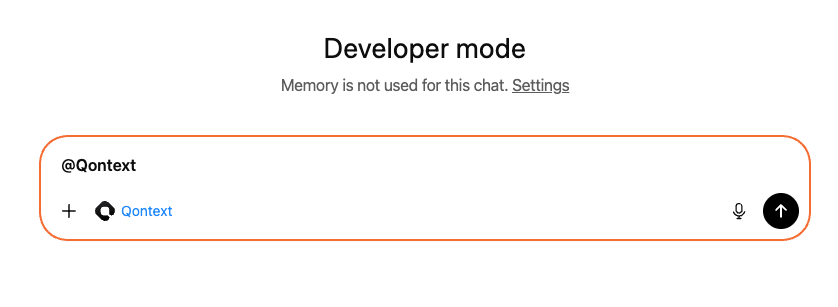
Example prompts
Troubleshooting
Qontext doesn't show up after creating the app
Qontext doesn't show up after creating the app
A few things to check:
- Check your account: custom apps are not available on free plans.
- Make sure you can see the app under Settings → Apps. If not, your workspace admin may need to approve it first.
- Ensure Developer Mode is on under Settings → Apps → Advanced Settings.
I can't turn on Developer Mode
I can't turn on Developer Mode
Your admin or owner may need to enable Developer Mode if you’re using ChatGPT Business or Enterprise.
The vault selection link doesn't work
The vault selection link doesn't work
Make sure you’re logged in to Qontext and have selected the correct workspace. If the link expired, start a new message with @Qontext to get a fresh link.