Connect Qontext to Codex via MCP to give your agents access to your context repository. With Codex + Qontext, you can:
  • Retrieve curated high-quality company context while coding
  • Access product, customer, process, and project knowledge directly from Codex
  • Keep governance and permissions in Qontext

Installation

1

Open ChatGPT Settings in your web browser

Open ChatGPT in your browser and log in. In the bottom left corner, click your profile and open Settings.Qontext Codex Start
2

Go to MCP servers

In the settings, choose MCP servers in the navigation and click on** + Add server**.Qontext Codex Add MCP
3

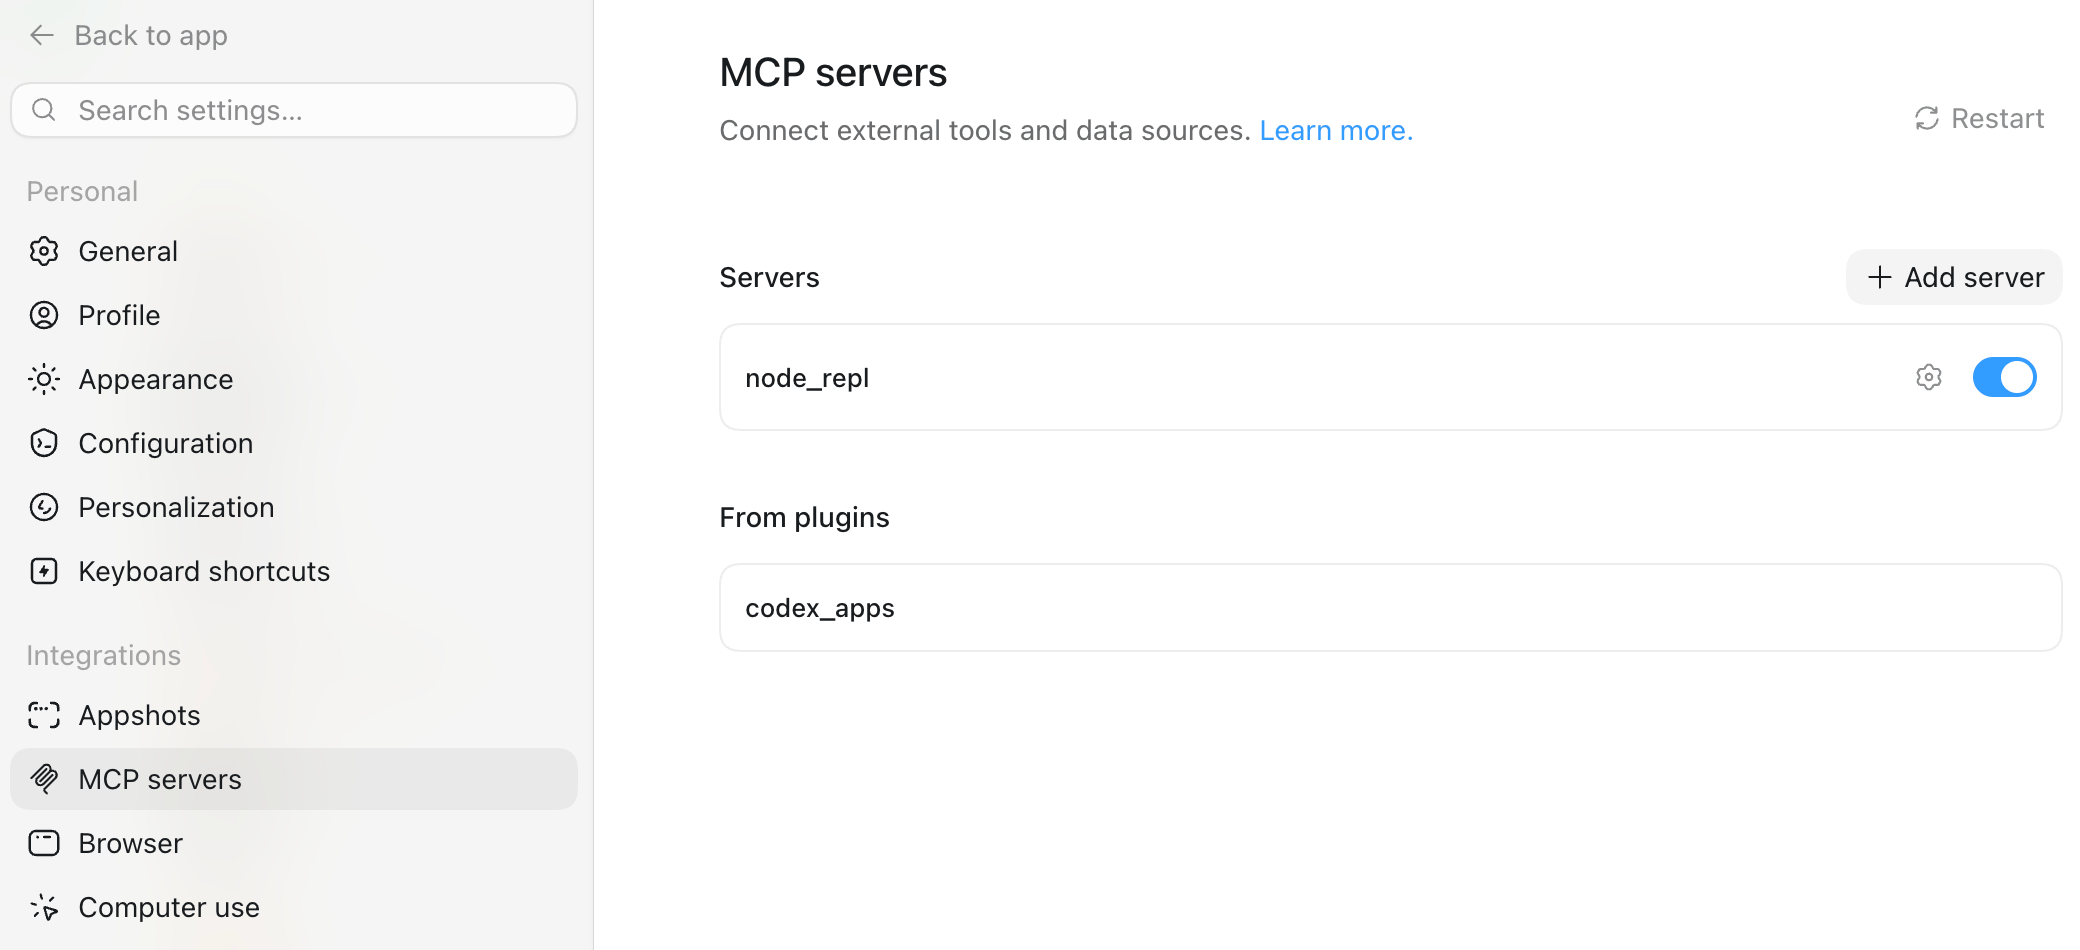
Add Qontext MCP server

Choose Qontext as the name and Streamable HTTP as the protocol. Then use the following MCP server URL:
https://api.qontext.ai/mcp
Qontext Codex Connect
4

Authenticate and log in to Qontext

Click on Authenticate and log in to Qontext.Qontext Codex AuthenticateQontext Log In 2
5

Grant access

When prompted, allow Codex access to Qontext.Qontext Codex Access
From now on, Codex will use your context repository to retrieve context when you invoke Qontext.

Using Qontext in Codex

Once the app is set up, using Qontext is simple:
1

Start a new chat

Open a new conversation in Codex.
2

Invoke Qontext

Add Use Qontext to your question or task and send the message. Codex then retrieves the context needed to give you the best answer.
3

Get context-aware responses

ChatGPT automatically retrieves relevant context from your connected vault to complete the task.

Example prompts

Use Qontext and create a technical handover document for this feature.
Use Qontext and update the project file with the implementation status.
Use Qontext and create a new runbook for this deployment procedure.

Need help?

If you encounter issues with the ChatGPT integration, reach out at support@qontext.ai.